
Bridal makeup shouldn’t be complex or scary (the big day is daunting enough!). In fact, it should be a calming and exciting part of the day whether you’re going DIY or having a pro paint your face. If you’re doing your own wedding makeup or have been asked to do a friend’s makeup for the big day, we’ve got a simple tutorial for you!
We’ve gone with a classic look that enhances the eyes, cheeks, and lips for a photo-friendly look that will wear all night long. No fads, trends, or crazy tricks here, just simple, flattering makeup brides of all complexions will look stunning in.
Step 1: prep the skin

Prepping the skin is always crucial for creating your best-ever makeup, and even more so on your wedding day. By removing dead skin, hydrating, and softening, we are creating the best canvas possible for smooth and long-wearing makeup.
The night before, you could use a chemical exfoliant such as an AHA and/or BHA exfoliating pad (I use Dr. Dennis Gross). This will smooth the skin and create a more even tone. However, only do this if you are used to such products! Before your big day is not the time to go ham with the chemicals, guys and gals. Stick to tried-and-true skincare products for the entire process to avoid any nasty reactions.
- Cleanse the skin and use gentle circular motions with a face cloth to slough off any dead layers.
- Apply a generous layer of your (or the bride’s) go-to moisturizer and follow with a few drops of facial oil
- Slather the lips in nourishing balm to ensure they’re soft and full when it’s time for lippie
- Add a layer of primer and leave to sink in as you work on the eyes
Step 2: the eyes
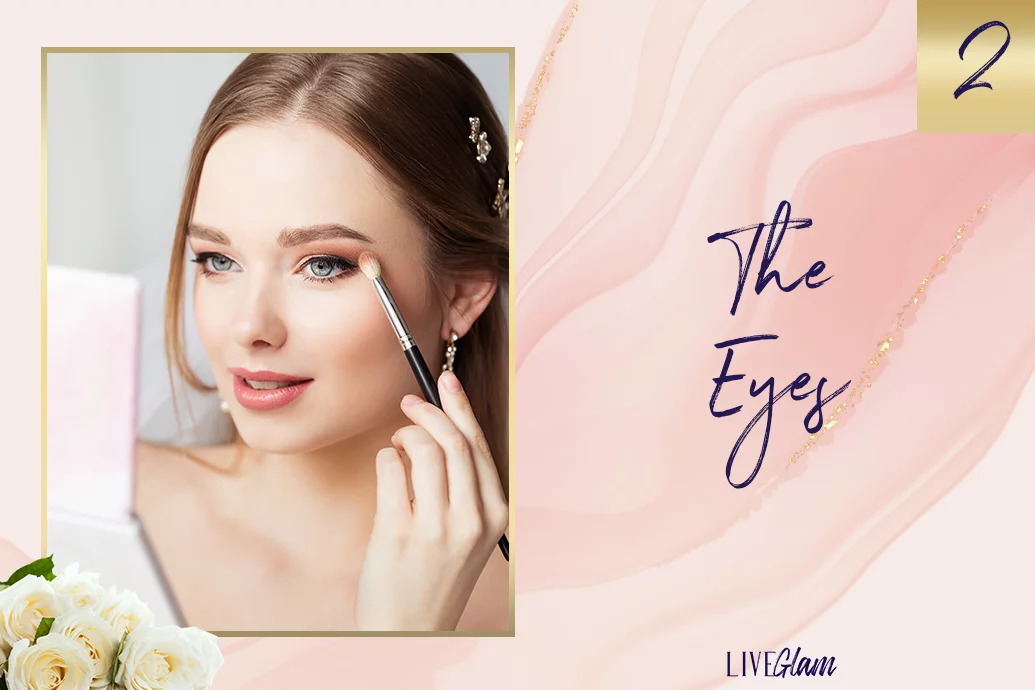
We like to start with the eyes when I’m doing high-stakes makeup. This insures the face against fall-out. Aim to enhance the eyes without being too heavy-handed.
- Apply eye primer or a long-wearing cream shadow (to match the skin tone) to the entire lid and leave to set.
- Take a mid-toned shade on a fluffy brush and buff through the crease. A shade like Rootin’ For You from He loves me, he loves me not would be stunning on medium-to-deep skin tones. Fairer skin tones would look great in Believe from Magical Dust. If you’re in a pinch, your good old bronzer is a perfectly fine crease shade!
- Use your finger to press a pale, shimmery shadow onto the mobile lid and into the inner corner, buff to blend
- Use a smaller brush to buff a little of your crease shade into the lower lash line
- Press a black or dark brown kohl liner into the upper lashes and use a stubby brush to gently smudge until soft
- Apply mascara and some wispy falsies or a few individual lashes
Step 3: the complexion
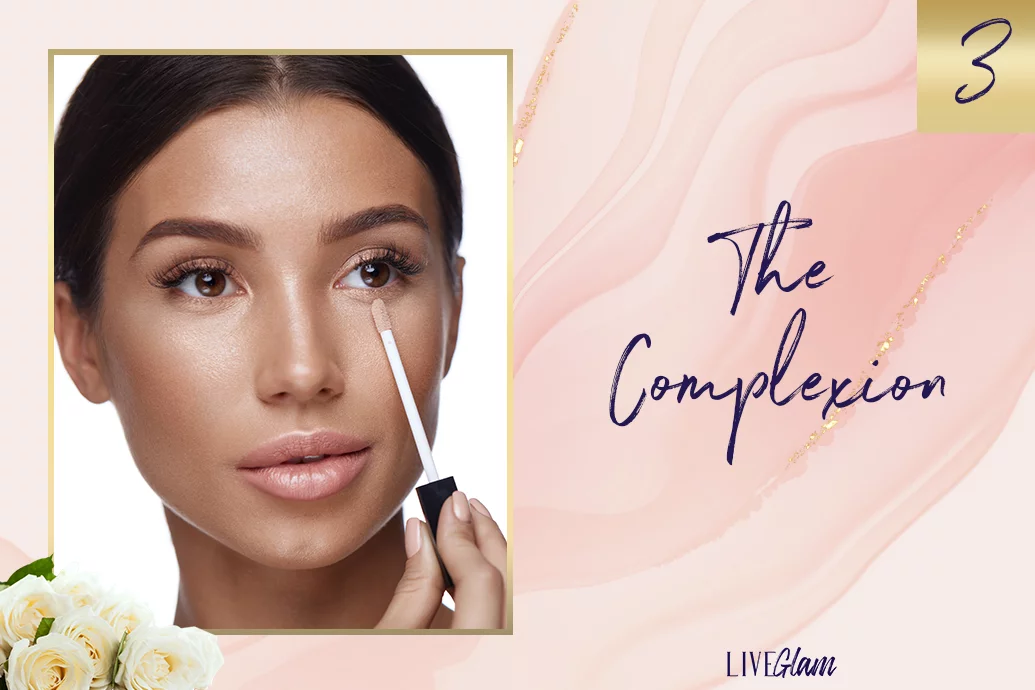
- Dab a little of your foundation onto a damp sponge or buffing brush and bounce/buff into the skin, starting from the inside of the face (the nose, forehead, and chin)
- Work the foundation to the outside of the face and down the neck, only adding more product to the sponge/brush when you need to
- Keep buffing until the product is seamless (ensure the jawline and neck are blended!)
- Add a little more coverage if needed to even the skin tone
- Add your concealer to the under eyes, around the nose, and over any redness or blemishes. Use a small buffing brush and your ring finger to blend your concealer. Don’t add too much concealer under the eyes as it will only cause creasing.
- Dust a little translucent or tinted powder over the t-zone and anywhere you added concealer
Step 4: the cheeks
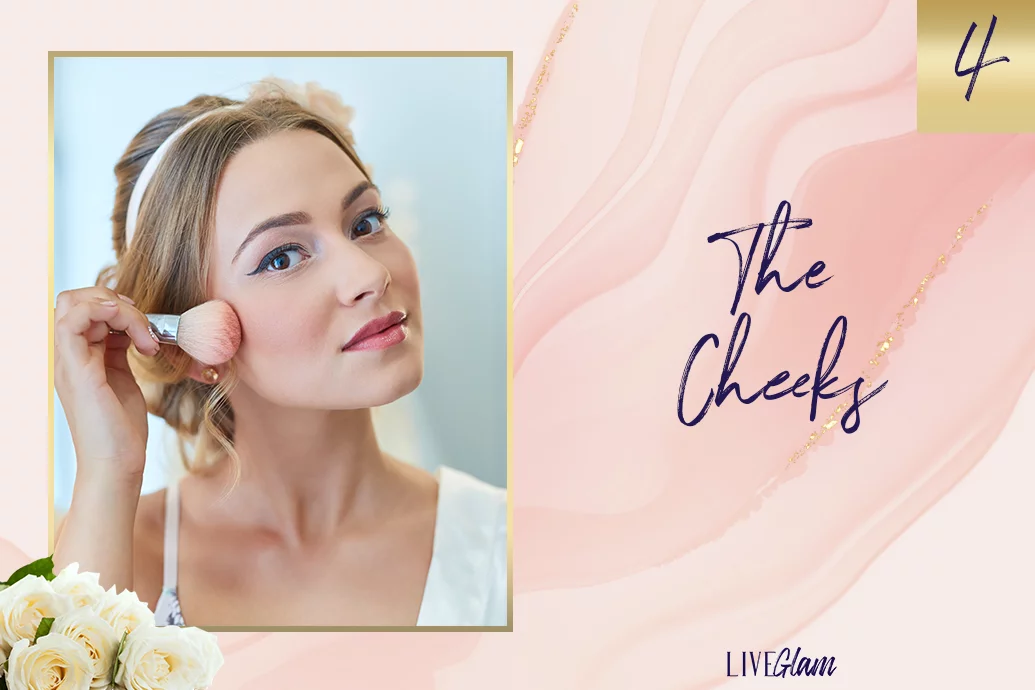
- Take a little matte or satin-toned bronzer on a fluffy brush and buff a light layer just under the cheeks, into the hairline, and along the jaw. This is to add a little warmth and dimension to the face. Use a light hand here! You can always add more if needed.
- Take a fresh pink or peach blush on a fluffy blush brush and buff onto the apples of the cheeks and blend out. Stand back and check your placement, you may need to take it a little lower or higher depending on face shape.
- Take a creamy highlighting product (avoid glitter! Choose a sheen as opposed to a disco bomb) and dab onto the high points of the cheeks. I like MAC Cream Color Base in Hush or Strobe Cream in Goldlite.
Step 5: the setting
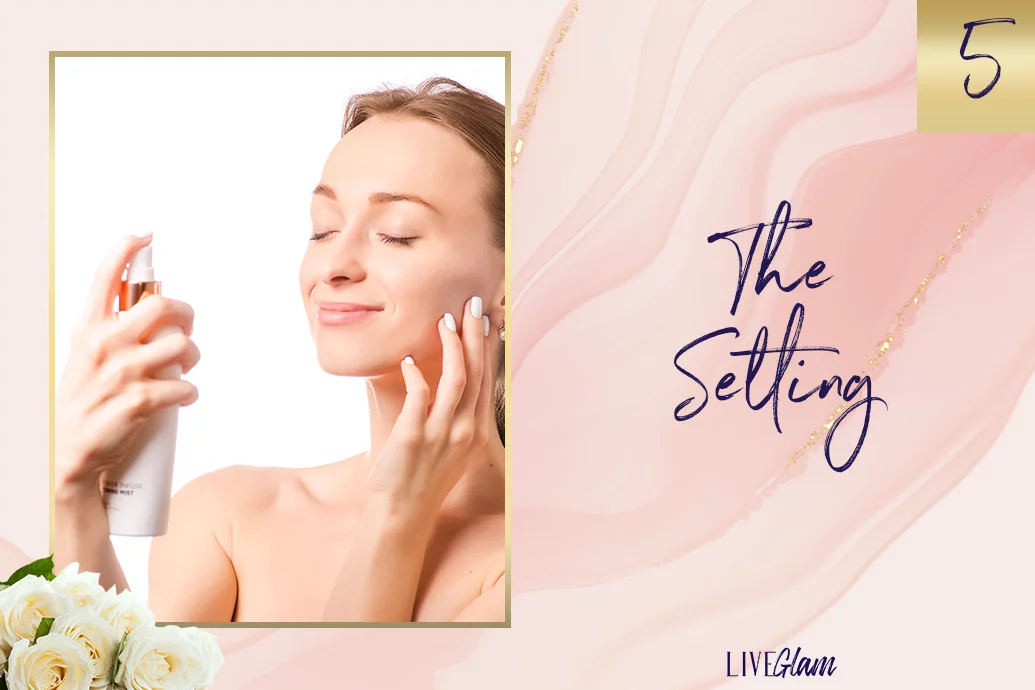
- Dust a very light layer of translucent powder over the face
- Spray with a long-wearing setting spray
Step 6: the lips
- Use a nude or MLBB liner to outline and fill in the lips, slightly overdrawing them if you need a little more oomph. Cupcake is a stunning bridal shade for so many skin tones.
- Add a layer of nude or soft pink gloss or even a tinted balm.
Voila! A beautiful, natural, show-stopping bride ready to own that aisle.

LiveGlam


